Final Project
|
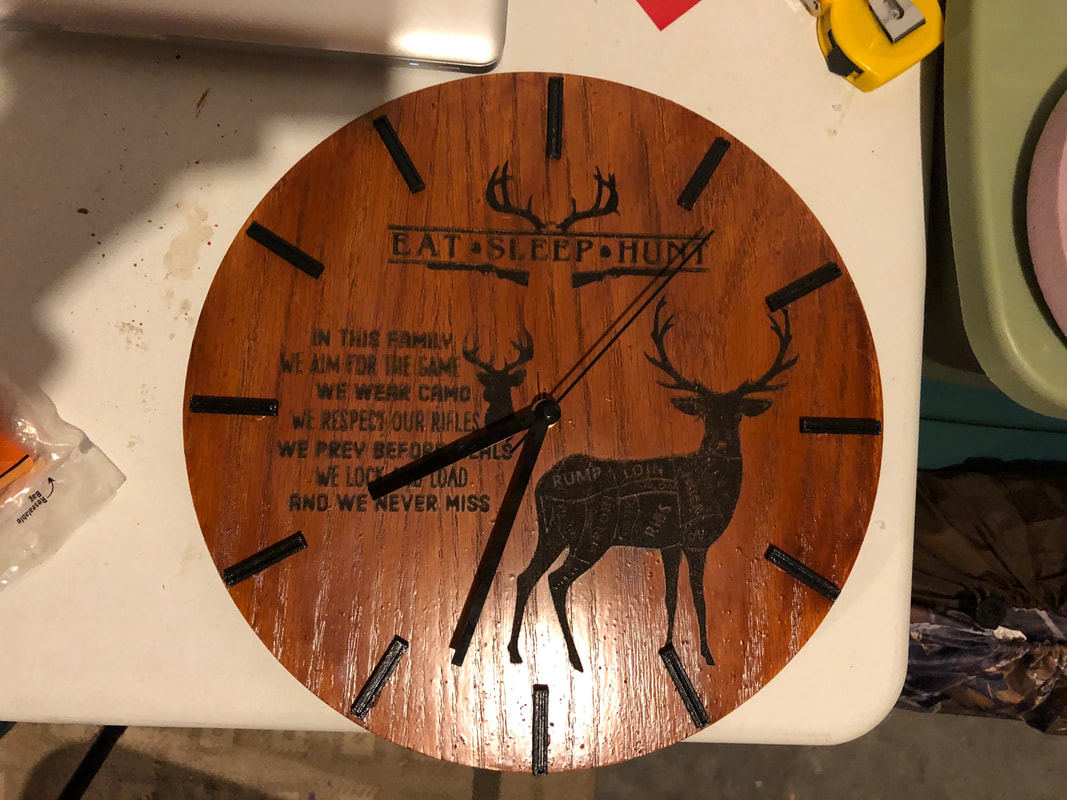
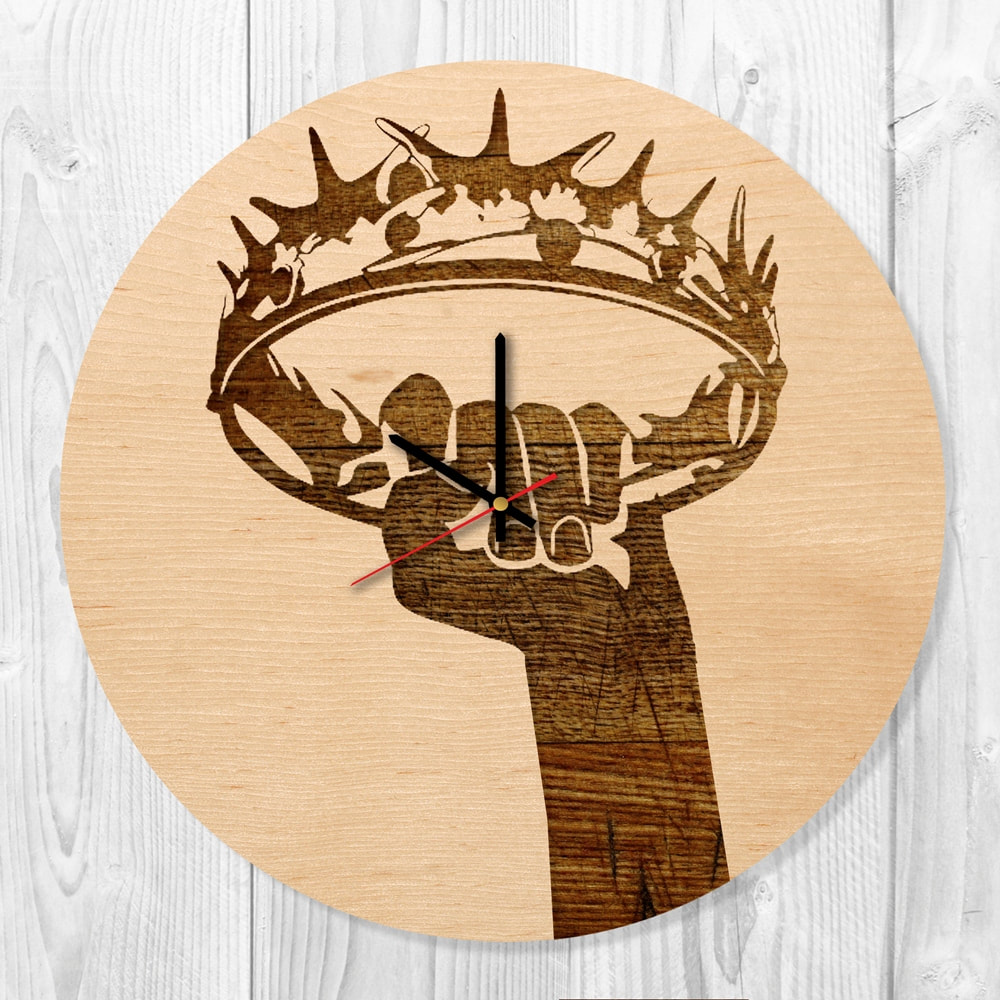
I started out by looking up clocks on the internet trying to see if I can find something that pops out. I then found this wood clock that looks like it was laser engraved with the design. ---->
I then decided to use the router to cut out the outer edge of the clock and an inner hole to place the gear part in. After that, I will laser engrave the clock with some cool hunting designs, 3D print time stamps and give it to my grandfather for Christmas! |
|
The Recipe
I started first by creating the base for the clock and went for a 13" diameter for the clock hands to fit. After that I created a hole in the bottom where the clock gear part would go, this had to be measured precisely. I then worked on the design for the clock, making it appealing to hunters and to my grandpa. After that, the time stamps. I created skinny rectangles but decided to carve out the middle to add design. Then its off to the machines, all of them went well except for the laser as we needed to use tape to stop the smoke from the protective stain I had applied.


Equipment Used
|
- Laser
- 3D Printer - CNC Router |
|
|
Summary
|
All in all, this final project taught me a lot about how we can use multiple machines to create things. Before we created simple mazes and phone holders, but now we can make anything we put our mind to. Finally, I had an amazing year with you and I am excited to see if I can Teacher Assist next year!
|
